
StandStore cardboard counter top display stands range of colours & sizes eBay
Begin by drilling a 1/4 inch hole close to the top of the large dowel. I placed mine about 1/2 inch from the top. Depending what you plan to display, drill additional holes down the large dowel. For bracelets, you can drill your next hole about 4.5 inches down the dowel, and you can add up to three tiers.

Display Stand at best price in Hisar by Nirmal Enterprises ID 2851496321588
Steps: 1. First, you need to work out where to place the stands in the wood. Put the object onto the 2 stands and place it on the wood. Mark where you need to drill a couple of holes for the stands. 2. Drill the holes into the wood making sure that you drill straight holes. 3.

4shelf 30 Wide Portable Tabletop Display Stand Etsy Exhibidores de artesanías, Puestos de
Step 2: Making Your Stand. To make the stand for your acrylic first grab the board you need. Using the table saw cut the wood to the length you would like. Once completed lower the table saw to about 1/2 of the wood's thickness. Run the piece of wood length wise through the table saw.

Step Display Stand in 2021 Wood display stand, Wooden display stand, Vendor displays
In this video, we demonstrate how we create our display stand for craft shows, perfect for showcasing your handmade products! Our collapsible display shelf w.

This 4 tier greeting card display stands is ideal for table top displays at craft fai
Materials And Tools to Make a Christmas Tree Display Stand. Several pre-finished tabletops in various sizes (we used 24″, 18″, and 15″ sizes from Lowes); AND/OR 1″ wood that you cut into circles (we cut 12″, 10″, 8″, and 6″); 48-inch-long 1″ dowel (one for a short tree, two for a tall tree); 3/8″ in- 16 x 3 in. stainless steel hanger bolts (we used just one, but you could.
Speed Bump DIY Freestanding Display For Craft Shows
This is a tutorial about how to make a simple very colourful inexpensive greeting card display stand. Great for displaying cards in craft fairs and exhibitio.

Card Display Stand DIY Instructions Craft booth displays, Craft stall display, Greeting card
Download PLANS here -https://jtwood.works/products/three-tier-display-stand-plansThis three tier display was built for a jewelry designer in Brooklyn, New Yo.

ManYee 4 Pcs Display Easel Photo Holder Display Stand 6 Inch Metal wall Mount Easel Picture
Step 1: Materials and Tools You can build this stand with materials you may have lying around, as I did, or you can go out and buy what you need. For my stands I used 1" (2.2cm) wide square mahogany (lying around, I promise!) and 5/16" poplar dowel. If done properly, you don't even need glue or fasteners!
Creative Ways To Display Student Artwork Screenflex
12. A fun way to show off jewelry displays is the Briolette way: in a corked bottle. Not only does this make a great market display, it also serves as perfect packaging. credit: Briolette way. 13. There are so many creative ways to upcycle existing objects into creative craft displays and newspapers are no exception.

20++ Greeting Card Display Stand HOMYHOMEE
How To Make The Display Stand. Using the Hacksaw split the end of Copper tube 5 mm OD on the length of around ½" (1.2 cm). With your pliers create a "saddle" for the rose to be secured. To the other end of the copper tube solder the Threaded pipe M10.

Outboard Display Stand
The layout of a display stand can help people interpret your marketing message more easily. You can do this by following this widely-seen layout: Display stands are often placed in high-traffic locations such as exhibition halls and reception areas, and as such usually aren't looked at by passers-by for a long period of time.

Product Display Stand Display Rite arnoticias.tv
28. DIY Fabric-Covered Jewelry Display Stand. Make this jewelry display stand using a fiberboard, fabric, chicken wire and a few other basic supplies. Watch the tutorial here. 29. Jewelry Display Case. Make this expensive looking jewelry display case to organize your favorite necklaces. The tutorial for this excellent project is here. 30.
DIY Freestanding Display Wall Jaime Costiglio
Glue and screw the top tread in place at the top of the stringer boards. Glue, and nail the upper most riser in place with panel pins. Glue and screw the next tread down in place. Then glue and nail the next riser down. Repeat steps 4 & 5 until all the treads and risers are fixed in place.

Stand Lightweight Collapsible Greeting Card Display Stand White 37mm Deep for sale online eBay
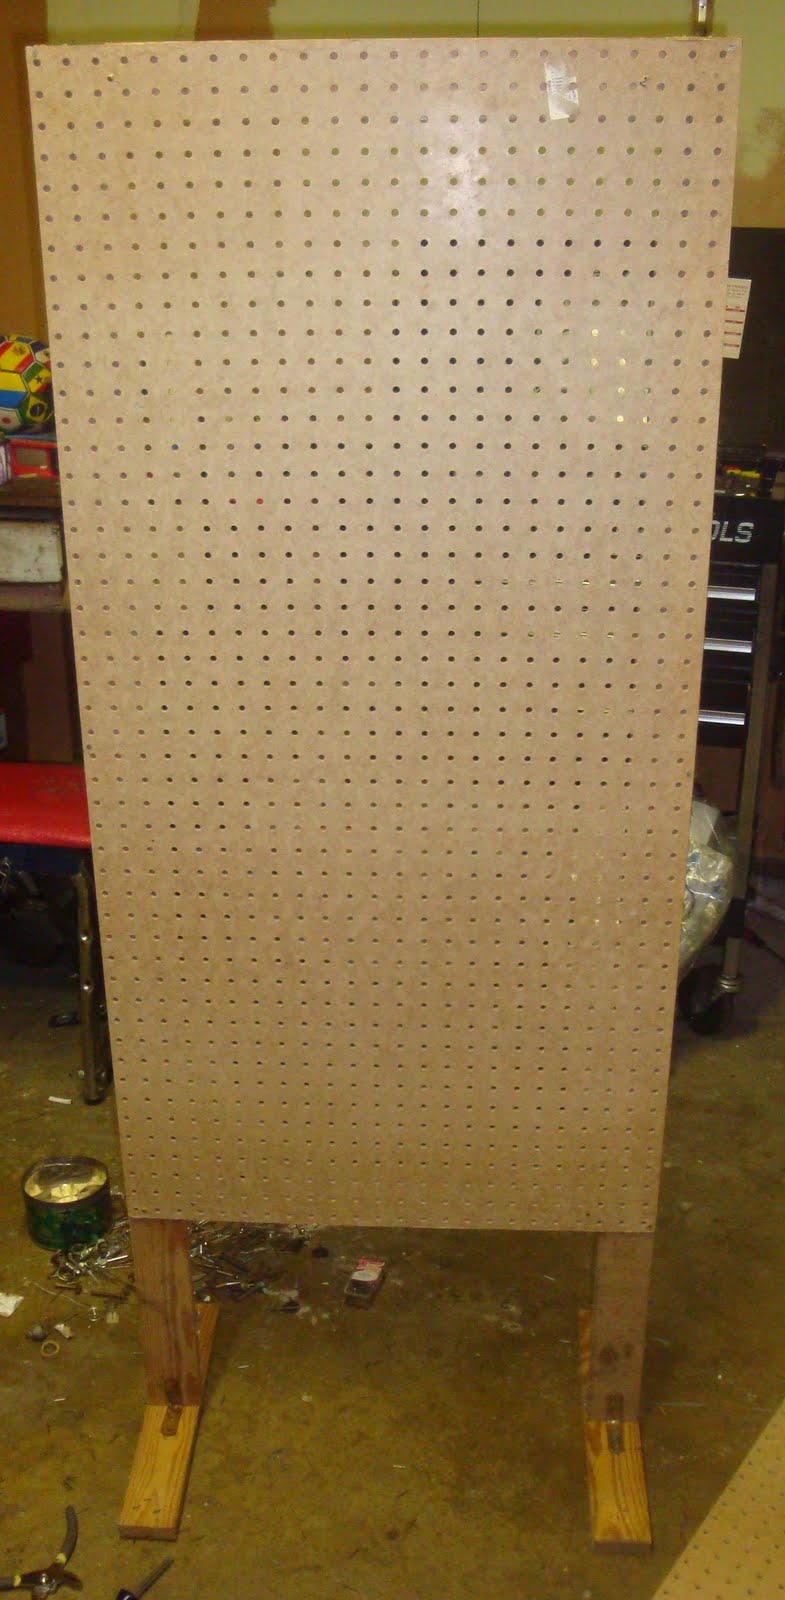
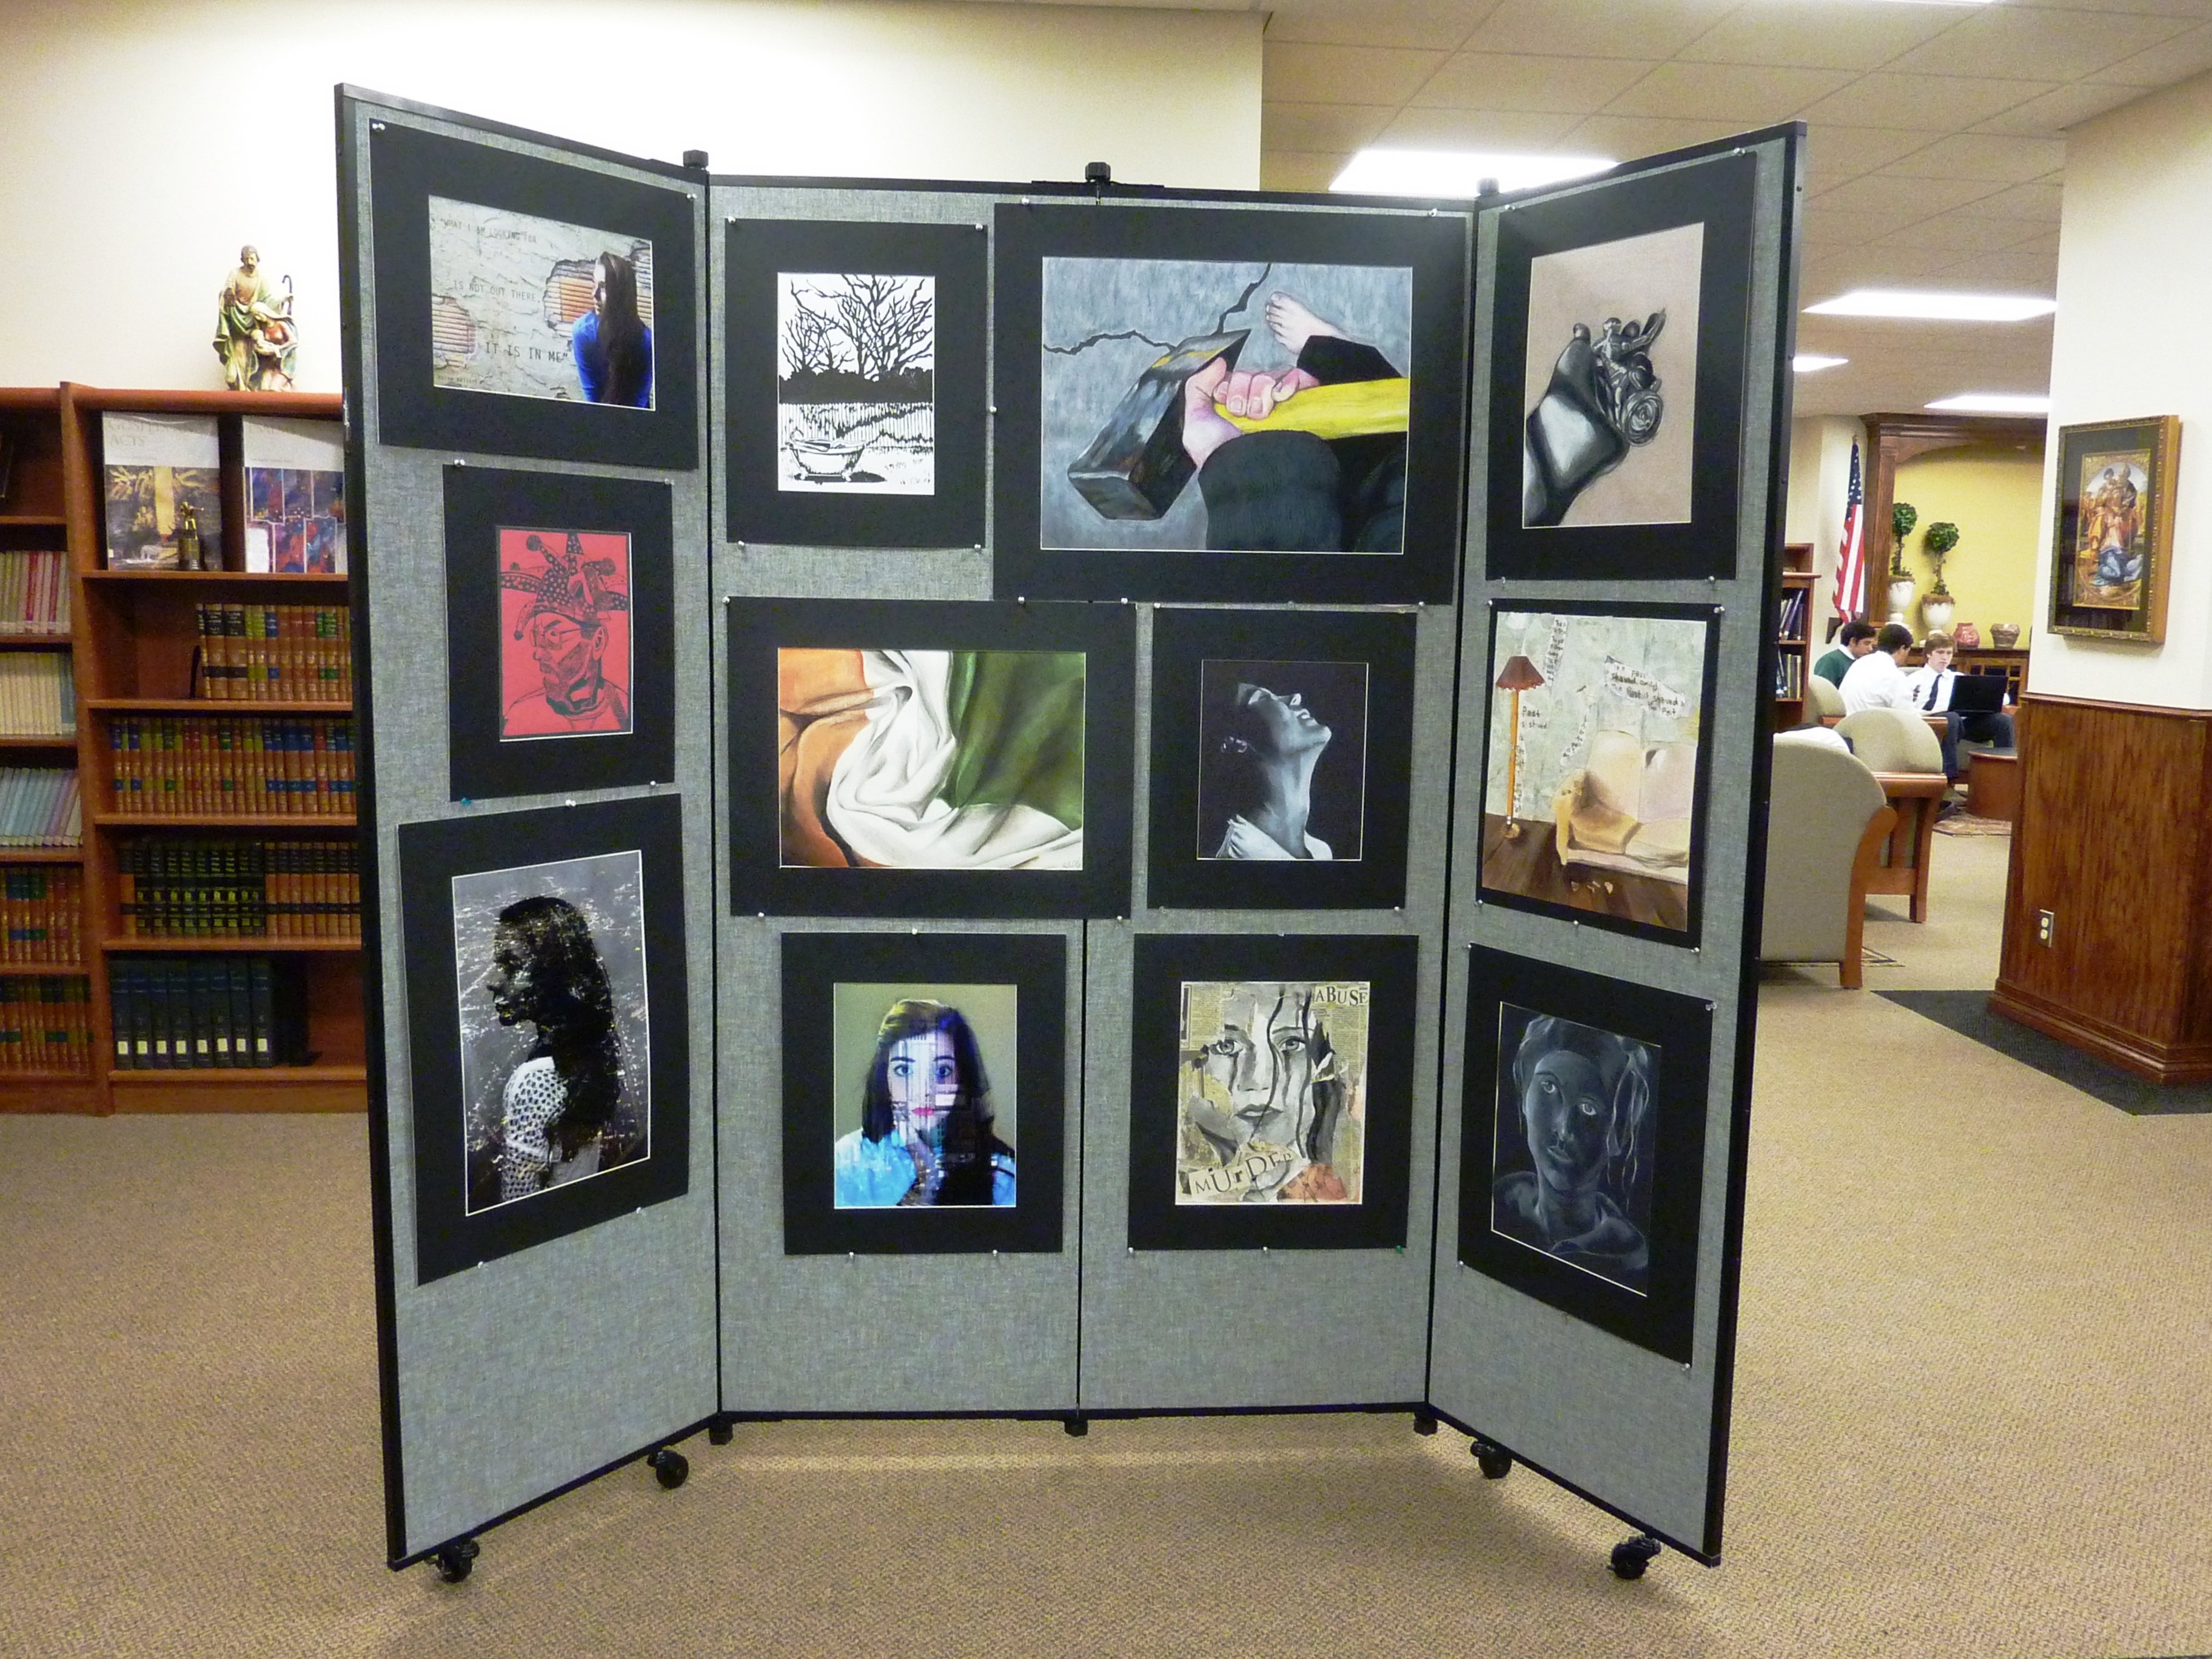
Step 1: Design and Materials' Selection Since the designated space for each artist who was displaying their work at the show was only 4x6, I needed to make every inch count. There was only one way to go and that way was up. (I also had prints to display and used a simple set-up of light tripods and PVC piping to hang them from.)

STANDY / DISPLAY Master Pack
Attach the top piece to the top shelf and then connect it with the bottom shelf. Next, attach the remaining pieces of cardboard together - front piece, back piece and side pieces. Once everything is attached, check around for any gaps and make sure there's nothing that you don't want them to see.

MiKo Bonsai Homemade Bonsai Display Stand finished
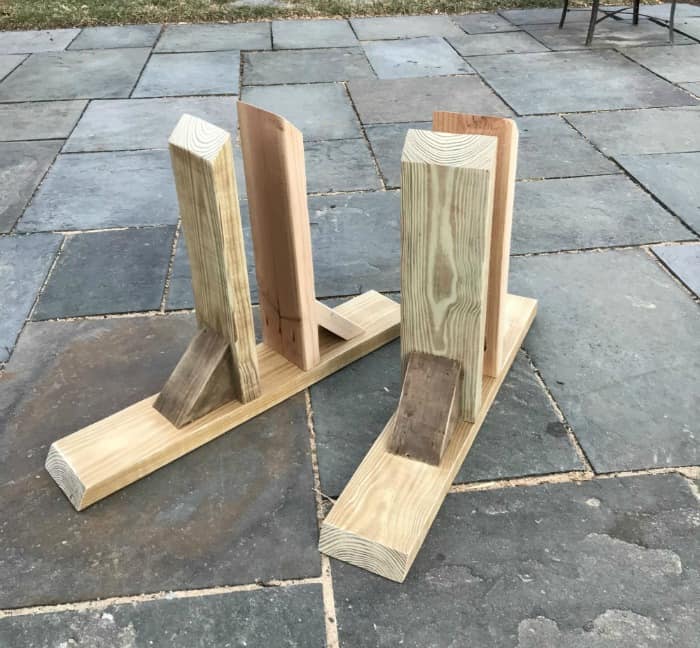
Figure out what size pedestal you want to make and measure it out on a piece of wood. I ended up making two pedestals, a tall one and a short one. For the taller pedestal, I measured out four pieces of wood that were 12"x12" x32". For the shorter one, my pieces were 16"x16"x20".
